


As an artist in the digital age, having professional, stunning photography and imaging is essential for connecting with your audience, gathering attention for your brand, and spreading your presence online. However, not all artists have access to 4K cameras, professional lighting, and expensive software. While new cell phones such as the iPhone 11, iPhone XR, and iPhone SE 2nd Generation have impressive cameras, these devices are expensive, with the cheapest costing at least $400 before tax.
Portrait mode on these devices is an easy way to take professional photos and emulate a thousand dollar camera and professional editing. But if you don’t have a modern device what do you do? Fortunately, we have a solution for you that will let you take advantage of the tools already at your disposal. In this article, we’ll break down the step-by-step instructions to creating an artificial portfolio effect using only free software.
The Photo
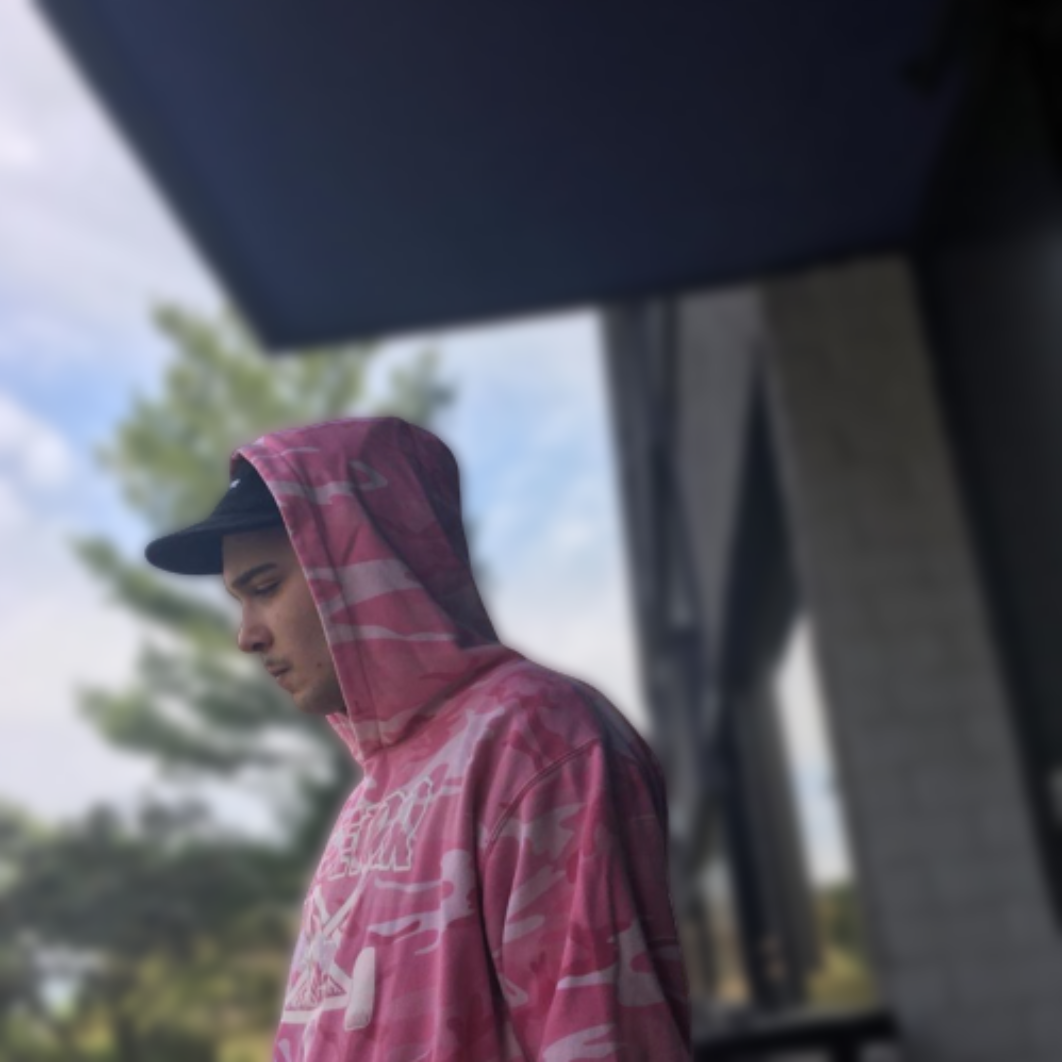
For this example, we’ll use a photograph of one of our artists, Spell Jordan, that was taken on an iPhone 6. While this effect looks best when the subject is looking directly at the camera, this tutorial will work as long as a person is visible.


Separating the Subject from the Background
While many without Adobe Photoshop expertise or photo editing skills may think blurring the background professionally will be a difficult task. However, this only takes two steps – isolating the subject from the background, and blurring the background. To separate the subject, Spell Jordan, from the background, we’ll use a free tool – remove.bg. We’ll upload the above image onto the platform, and let Remove.bg do its magic.

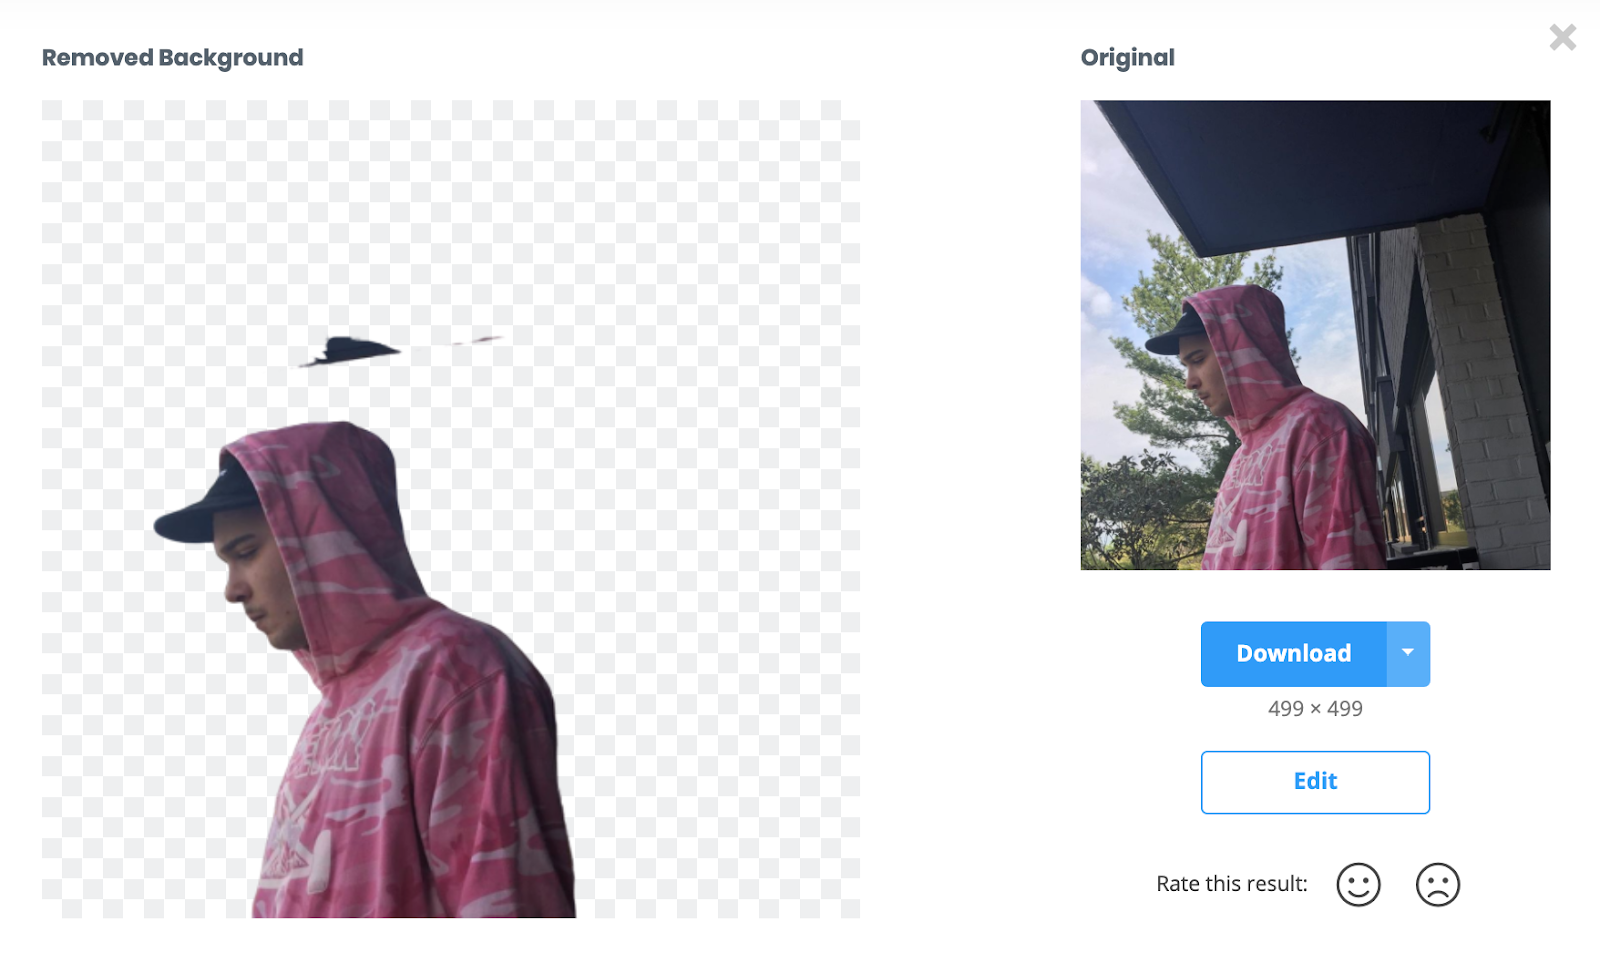
While this worked, it was not perfect. Let’s click the Edit button to take this a step further.


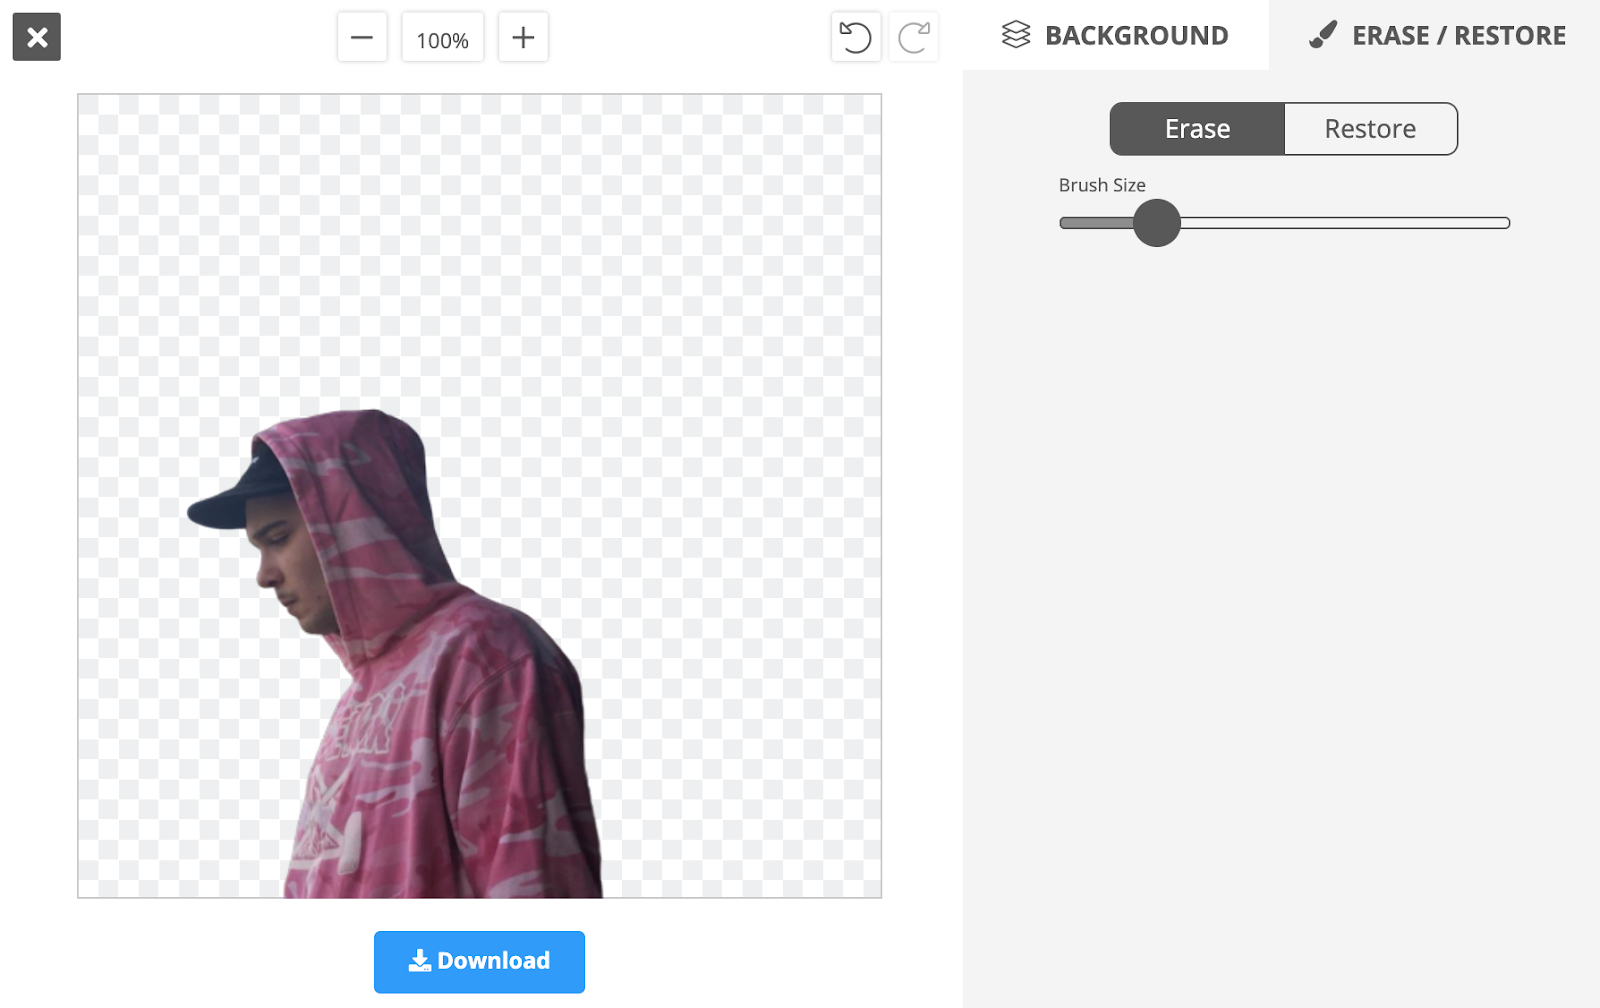
Select Erase/Restore, and erase the unwanted pixels above the subject. Then, click Download!

Blurring the Background
To edit the final product together, we’ll use the free software photopea.com. Drag both the original image and the cut out image onto the same window in Photopea.

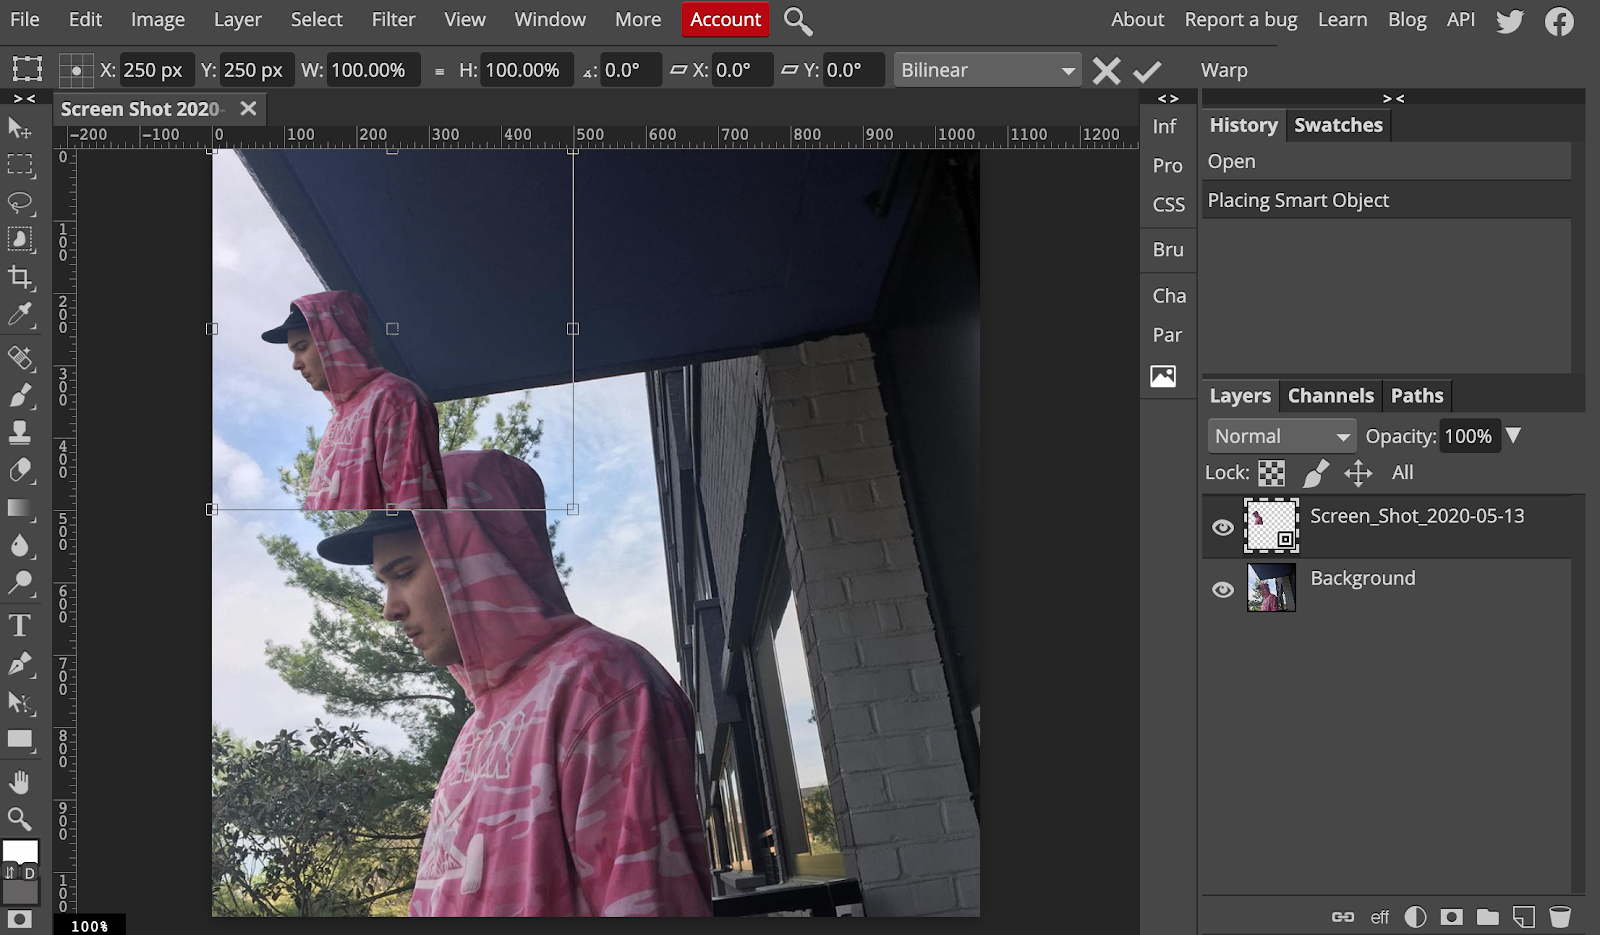
Drag the bottom right corner of the cut out image to be the same size as the original image. Next, select the Background layer, and click Filter, Blur, Gaussian Blur.

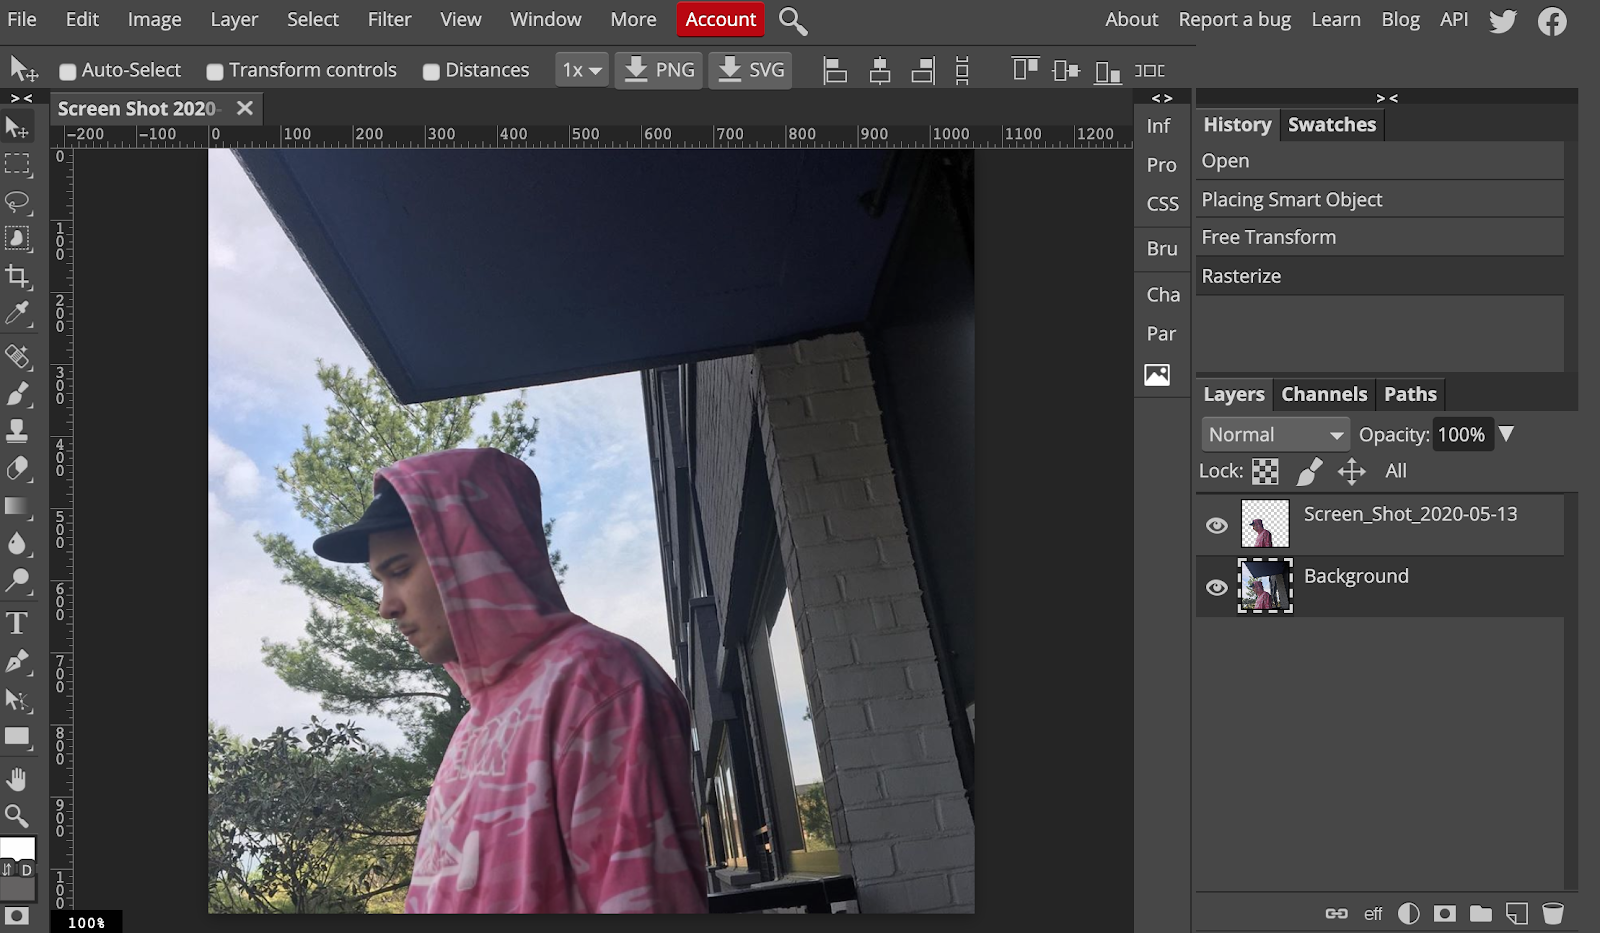
Edit the level of blur to the desired effect, then click OK. Photopea may ask you if you would like to Rasterize the image. If this pops up, click OK. Your screen should now look like the below.


Then, click File, Export as, then select the format you would like. We suggest PNG or JPG.
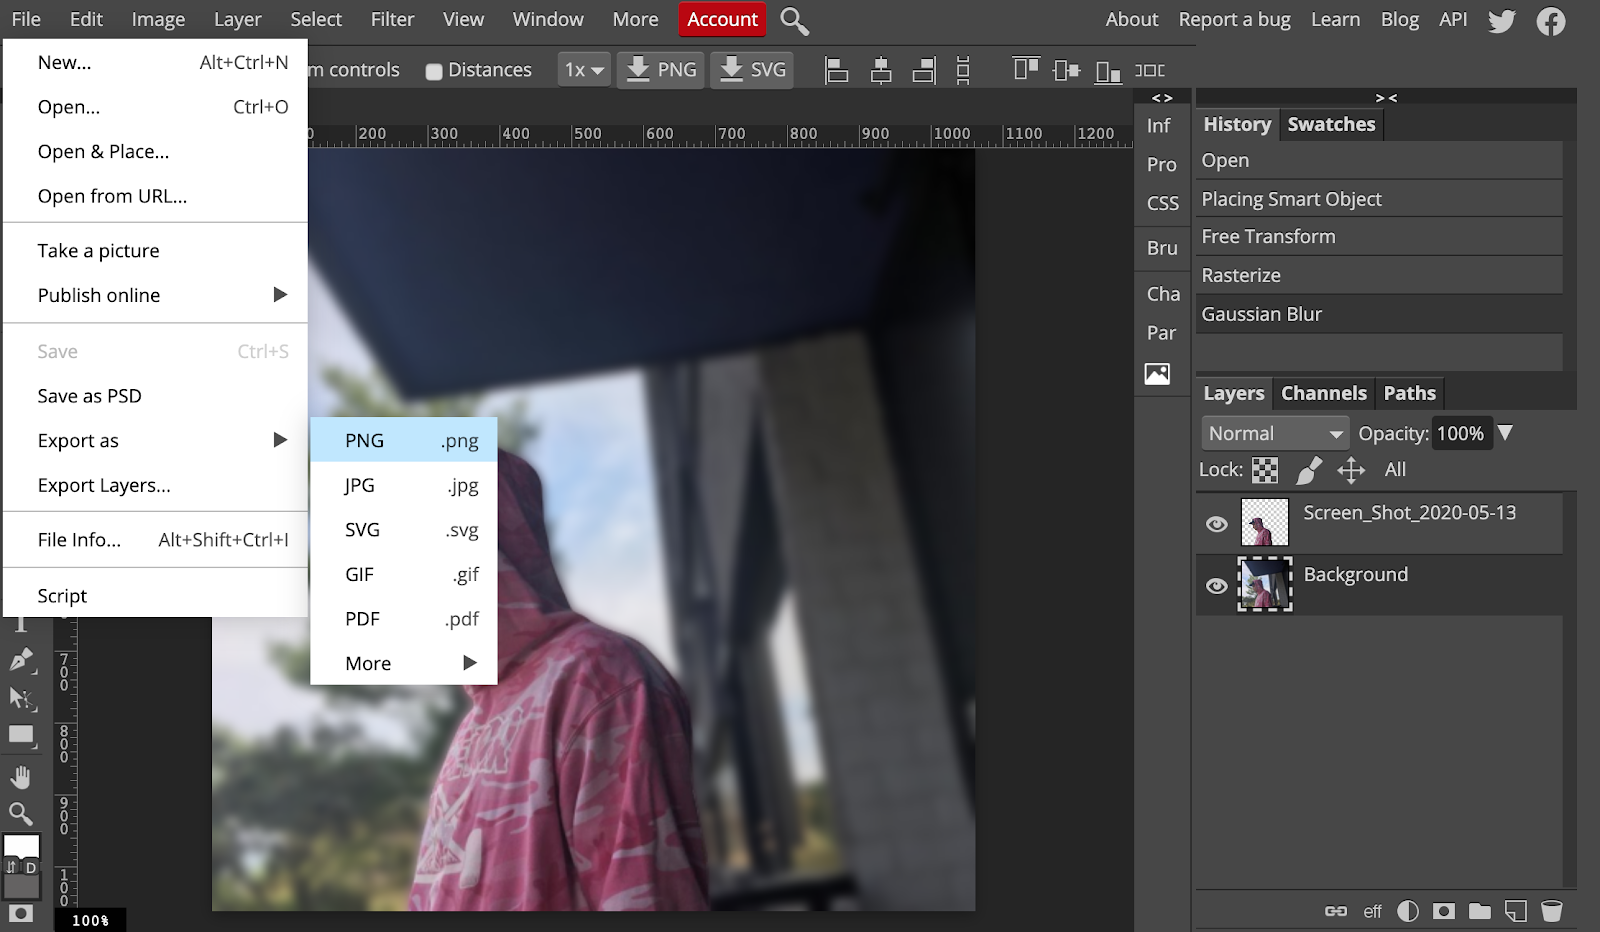
This is what the image should look like!
Conclusion
There you have it! You’ll see in a few easy steps, we can easily emulate Portrait mode and professional photographs with free software and cheap hardware.